
WHAT IT DOES
What changes when you pick it?
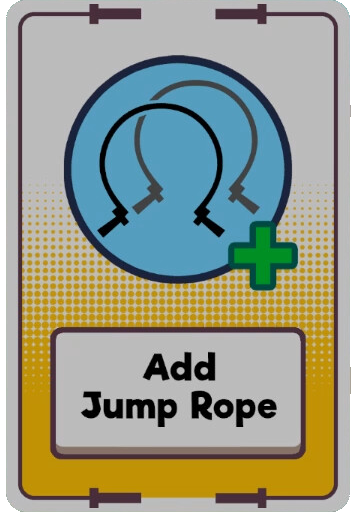
Another rope joins the pattern. Read a full cycle before the next jump so you can see the new gap.
- Adds one more rope you must clear.
- Can raise score and progression on a long jump.
- Makes the pattern harder to read.
THREE CARDS ON SCREEN
Take it or skip it?
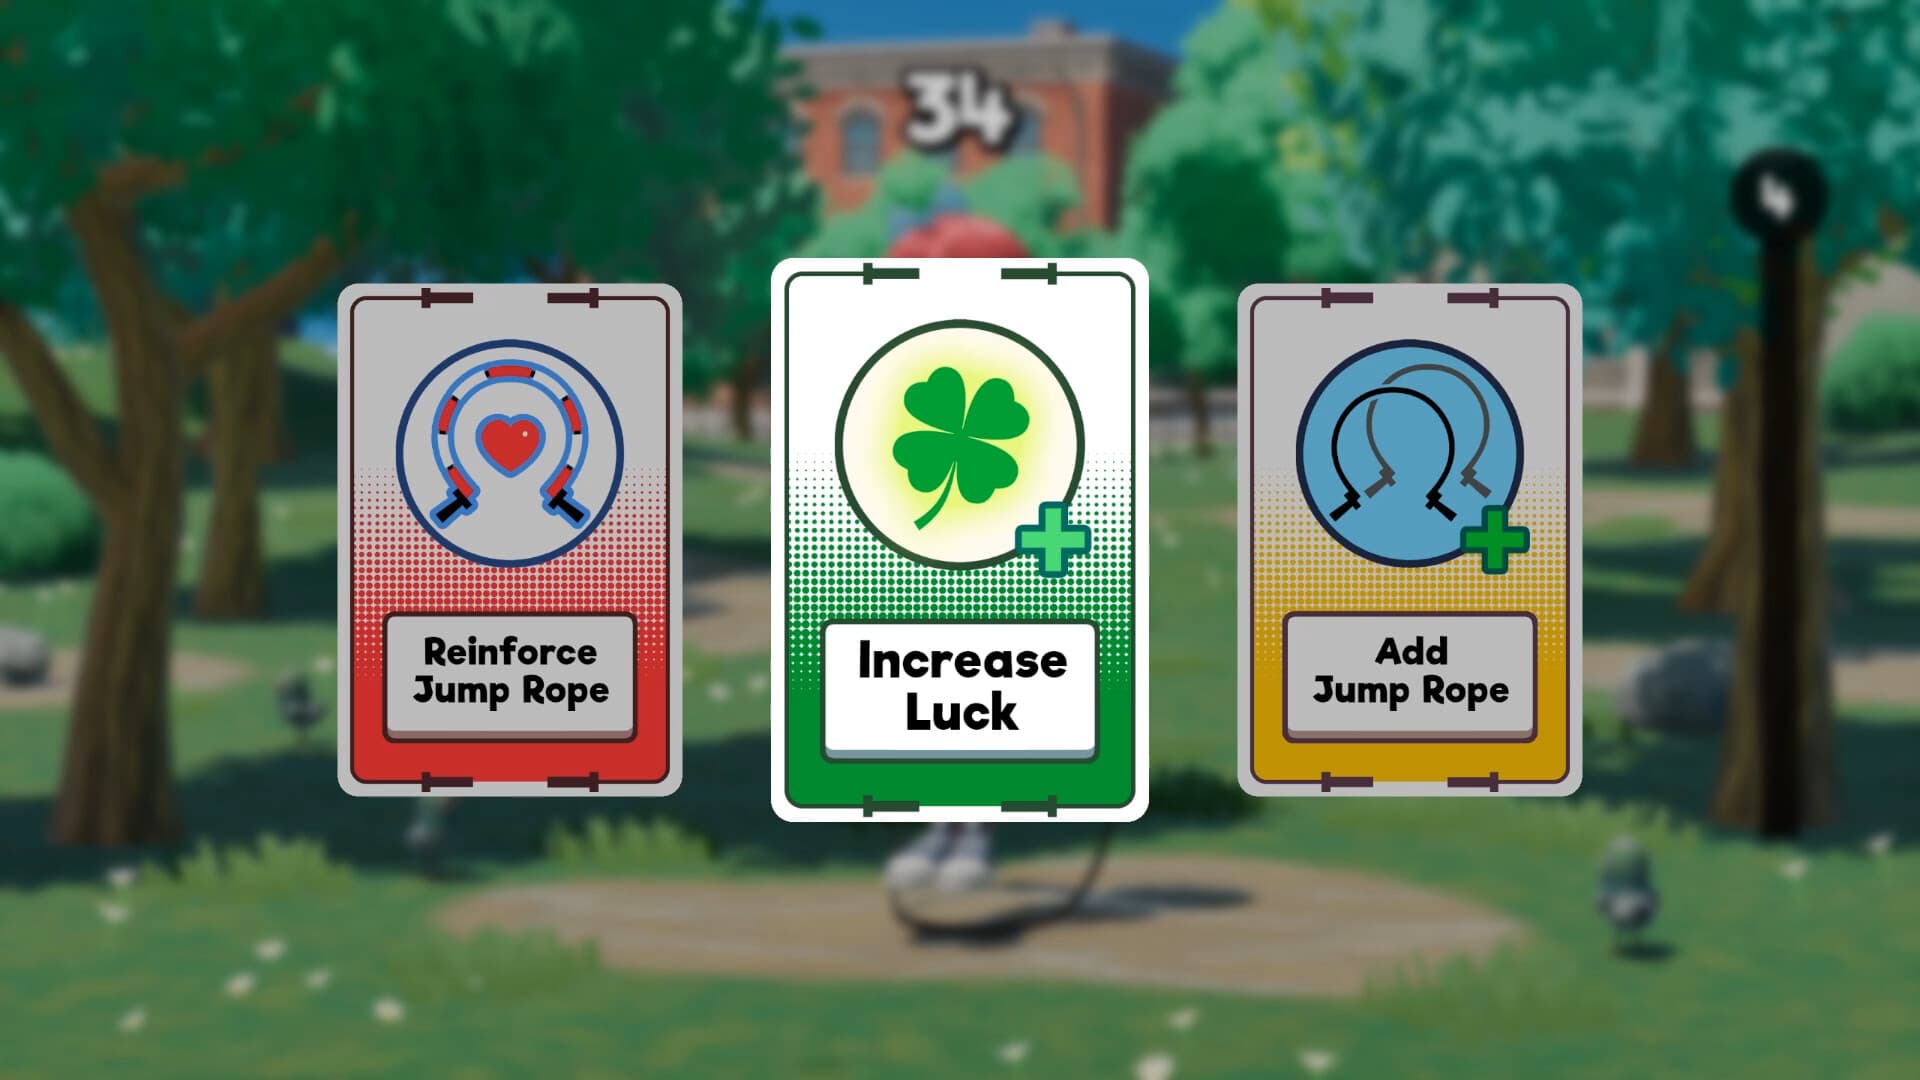
Three cards come up. We keep one. If the pause still feels new, how it actually works is the button, then the pick — and the tips page has the four questions we ask before clicking.
Take it if…
- The current ropes are reinforced or easy to replace.
- One jump already clears several turns and you want more volume.
- You are chasing score, not a calm Moon climb.
Skip it if…
- You are still learning the one-rope beat.
- A landing is already messy and the new rope is unprotected.
- The Moon route needs a smaller set.
EACH STACK
How much does one pick add?
| What we can check | What one pick does |
|---|---|
| Game information | Steam advertises adding a jump rope. The card adds one more rope. No published maximum. |
| Player observations | Players usually keep two to four ropes while the build is young, then add more after height, Luck and Reinforce are in. |
| Unknown | The cap, how a new rope enters the pattern, and the exact score or XP per extra rope. |
Each pick is +1 rope. Keep the set small until height and Reinforce are doing work.
PAIRS WITH
Which cards work with it?
Reinforce RopeProtect the set before you multiply it. Extra ropes without shields fall apart.Jump HeightHeight is what lets one jump clear the extra turns.Ignite RopeFire on more ropes is a score tool after the pattern is already readable.
Do not pair it to fix this
- Do not add a rope to fix a jump you cannot time yet.
- Skip it on a Moon attempt that wants a small, calm set.
AFTER YOU STACK IT
What each extra copy feels like.
The rhythm changes immediately. Watch a full rotation before jumping again.
The usual working set for long runs. Reinforce before adding the next one.
Score volume, if height and Fuel can recover a lost rope. Chaos if they cannot.
USED IN THESE ROUTES